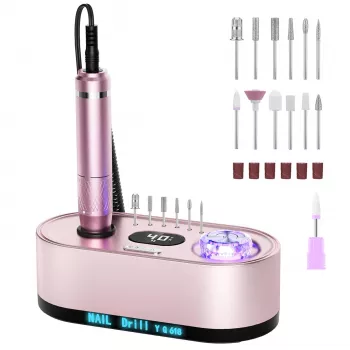
A 40,000 RPM electric nail drill is built to speed up acrylic and gel services by making removal, debulking, and refinement more efficient than hand filing alone. With the right bit and a steady, light touch, it can smooth the surface, clean up sidewalls, and blend product near the cuticle area without turning the appointment into an arm workout.
What it doesn’t do: replace correct prep, sanitation, or proper application. Lifting still happens when the nail isn’t properly prepped or the product isn’t applied correctly—and aggressive drilling can create more problems than it solves. Also, high RPM by itself doesn’t equal “faster.” Torque, bit choice, and controlled movement are what keep the service quick and clean.
| Task | Suggested RPM range | Notes for control |
|---|---|---|
| Cuticle-area blending (product only, not skin) | 5,000–10,000 | Use a small flame/ball-type bit lightly; keep moving to avoid heat. |
| Surface smoothing (acrylic/hard gel) | 10,000–18,000 | Use a medium grit sanding band or carbide with light pressure. |
| Debulking thickness | 15,000–25,000 | Let the bit do the work; avoid stopping in one spot. |
| Full removal (experienced users) | 20,000–30,000+ | Prefer carbide/ceramic; finish with a hand file to protect the natural nail. |
| Natural nail prep (very gentle) | 3,000–7,000 | Use fine grit only; minimal contact time. |
For broader hygiene principles that apply to tool handling and cleanliness, see the CDC’s infection control resources: https://www.cdc.gov/infectioncontrol/index.html. For general information on nail products and safety considerations, the FDA’s overview is also useful: https://www.fda.gov/cosmetics/cosmetic-products/nail-care-products.
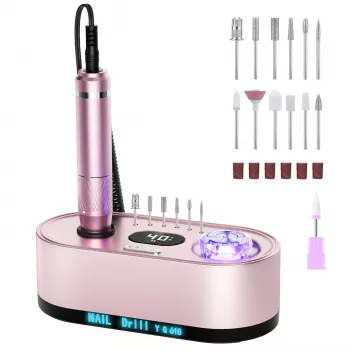
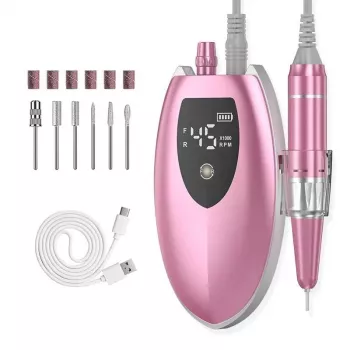
If you want clear speed visibility and headroom for faster removal once technique improves, the Professional Electric Nail Drill Kit 40000RPM with LCD for Acrylic & Gel Nails is designed for both removal and refinement. The key is using that speed range responsibly: lower RPM for detail work, higher RPM only when the bit is cutting cleanly with light pressure.
For most users, 15,000–25,000 RPM is a practical range for debulking acrylic with a carbide or ceramic bit, using very light pressure and constant motion. Higher speeds are typically reserved for experienced hands, and it’s smart to finish the final thin layer with a hand file to protect the natural nail.
No—because you don’t have to use the top speed. Beginners can stay in low RPM ranges with fine bits, focus on stabilizing the finger, and avoid working on skin while building control and consistency.
Heat usually comes from too much pressure, staying in one spot, a dull or overly coarse bit, or an RPM/bit mismatch. Reduce pressure first, keep moving in short passes, and consider switching to a smoother or cooler-running bit (often ceramic) if heat persists.











Leave a comment