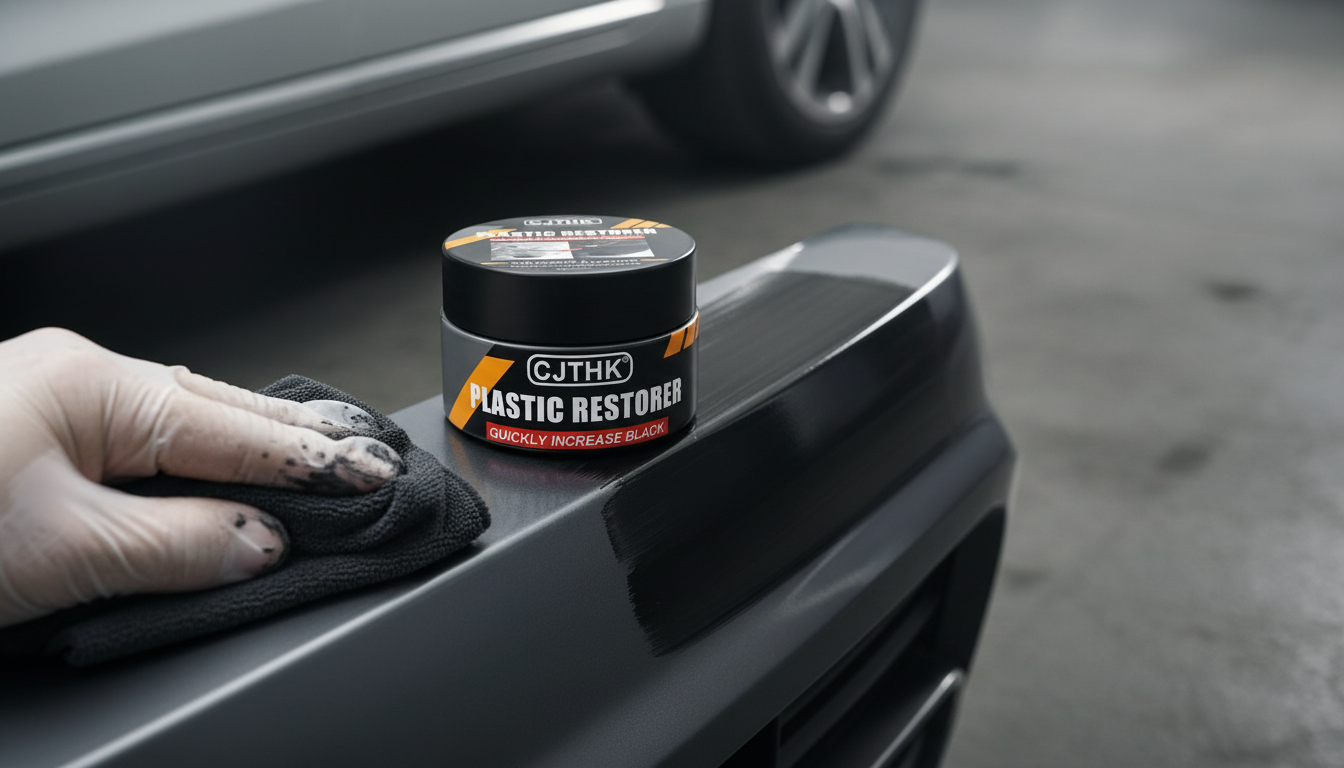
Sun, heat, and everyday friction can leave exterior plastic trim and interior leather/vinyl looking gray, chalky, or dull. A restorer designed for plastics and leather helps revive color depth and sheen, while adding a protective layer that slows future fading and drying. Used the right way, it’s one of the fastest ways to make a vehicle look cleaner and more “finished” without replacing parts.
A quality plastic and leather restorer is meant to refresh what’s already there, not perform miracles on severely damaged materials. Most formulas work by laying down a thin, cosmetic coating that improves how light reflects off the surface while helping reduce the “dry” or oxidized look.
UV exposure is one of the biggest contributors to fading and surface degradation over time. For background on how UV impacts materials (and why protection matters), see the EPA’s overview of UV radiation and sun exposure.
Restorers are versatile, but they aren’t universal. Use them where you want cosmetic improvement and light protection—and skip them anywhere slickness, glare, or smearing could create a safety issue.
| Surface | Result you can expect | Prep needed | Cautions |
|---|---|---|---|
| Unpainted exterior plastic trim | Restores darker tone and gloss; reduces chalky look | Wash, fully dry, remove old dressing | Keep off paint and glass; wipe overspread immediately |
| Textured plastic bumpers | More even color with refreshed sheen | Thorough cleaning with a brush | Multiple thin coats often look better than one heavy coat |
| Interior vinyl panels | Richer color and smoother look | Wipe with interior cleaner, dry | Buff well to prevent greasy feel |
| Leather seats (finished/coated leather) | Healthier look with renewed sheen and reduced dryness | Clean, dry; spot-test | Do not soak seams; avoid perforations if product is heavy |
| Glass, touch controls, steering wheel | Not recommended | N/A | May cause smear, glare, or slippery surfaces |
If a restorer ever “fails,” prep is usually the reason: old silicone dressings, body oils, and embedded grime can block even bonding and cause streaks or patchiness. A few minutes of cleaning typically translates into longer-lasting, more uniform results.
The goal is controlled, thin coverage. Heavy application often looks good for a moment, then dries unevenly, attracts dust, or transfers onto clothing. Build the finish slowly and stop when it looks consistent.
If you ever suspect a material-related defect or unusual premature deterioration, checking official resources like the NHTSA vehicle recall database can help determine whether a known issue exists for a specific model.
Car Plastic & Leather Restorer – Back to Black Gloss Coating & Polish is designed to revive faded plastic and refresh leather/vinyl appearance with a back-to-gloss finish. It’s a practical choice for quick refreshes before trips, photos, or routine detailing sessions—especially when you keep application thin and finish with a dedicated leveling buff.
If you like keeping wash logs, receipts, warranty papers, and product notes in one place, the 10PCS A4 Hanging File Folder – Colorful Portable Document Organizer is an easy way to separate vehicle records and detailing checklists so reapplication timing and product notes don’t get lost.
No. Restorers improve appearance and add a protective layer, but they can’t rebuild missing material or stop active peeling; severe damage typically requires leather repair products, refinishing, or trim replacement.
It’s generally safe on finished/coated automotive leather when the surface is cleaned first and spot-tested. Apply lightly, avoid soaking seams or perforations, and buff well so the seat doesn’t feel slick.
Use a thin coat, let it set as directed, and buff thoroughly with a clean microfiber to level the shine. If you want more gloss, add a second light layer instead of applying one heavy, oily coat.












Leave a comment