Black Glitter Diamond Sparkle Gel Nail Polish: Deep Shine That Stays Put
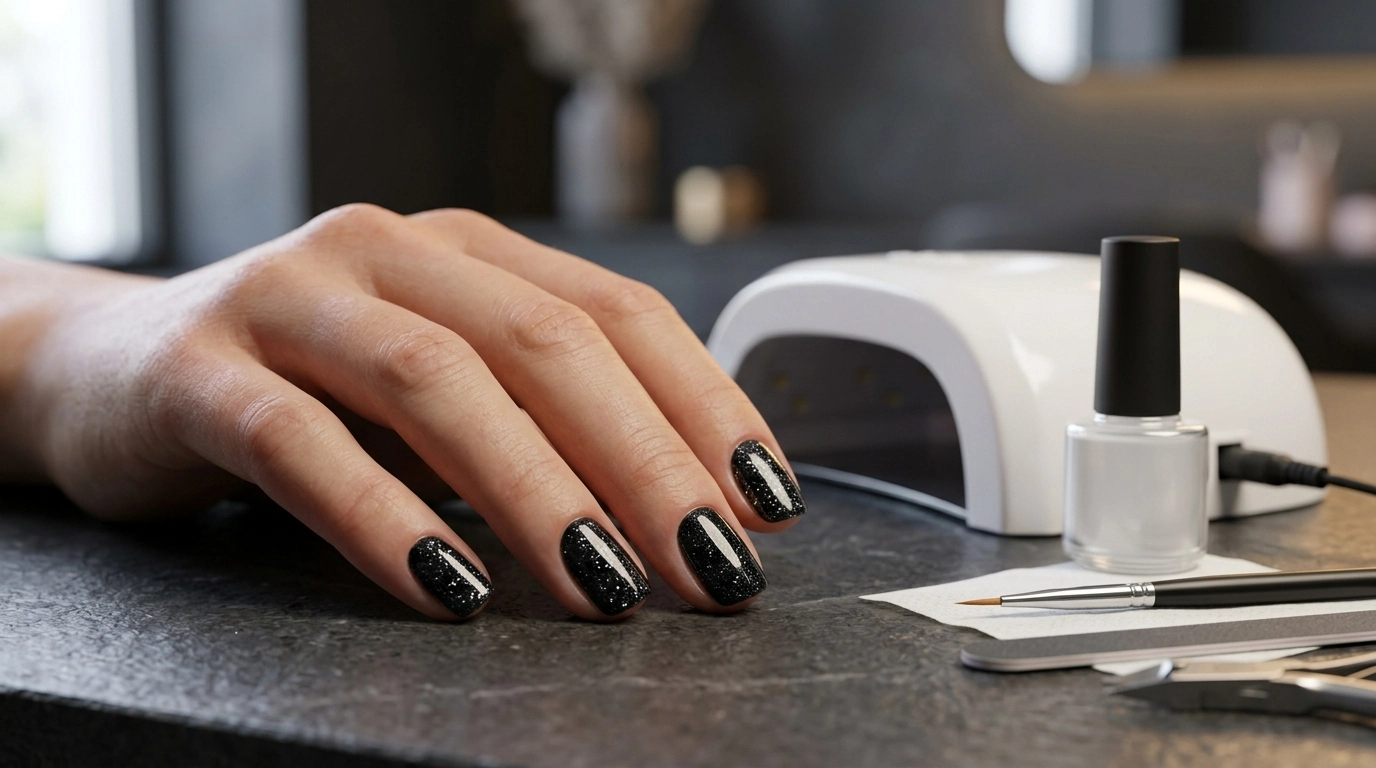
A black glitter gel polish can read edgy in daylight and luxuriously reflective under evening lights—when the formula cures hard, levels smoothly, and resists chipping. A “diamond sparkle” finish is all about contrast: a deep black base that makes shimmer look crisper, brighter, and more dimensional. Below is what to expect from this look, how to apply it cleanly with UV/LED lamps, and how to remove it safely without leaving nails feeling parched.
What Makes a “Diamond Sparkle” Black Gel Finish Different
Black is a high-contrast background, which is why glitter appears sharper and more multi-dimensional on top of it. Instead of looking soft or pastel, the sparkle becomes more “pinpoint” and reflective—especially under direct light.
- Black base amplifies contrast: Glitter reads brighter against a deep base, making the manicure look more dramatic without extra nail art.
- Glitter density changes coverage: Fine sparkle can look almost satin-like, while chunkier glitter leans more “disco” and can need extra leveling to prevent texture.
- Gel cures to a harder film: Compared with air-dry polish, gel forms a tougher layer that helps keep glitter locked in place, reducing snagging on hair or fabric.
- Top coat choice changes the vibe: A glossy top coat boosts reflectivity and makes sparkle look “wet.” A velvet/matte top coat diffuses shine into a smoky, scattered-glitter look.
Quick Product Snapshot
If you want a statement shade that still looks polished (not gritty), start with a glitter gel designed to cure evenly and wear well when sealed properly.
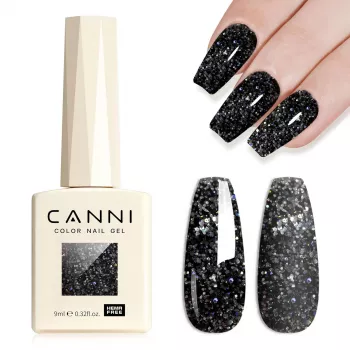
Black Glitter Diamond Sparkle Gel Nail Polish – Long Lasting UV LED Lacquer is priced at $10.49 (USD) and is currently in stock. It’s a strong pick for party looks, accent nails, and layered nail art over black or other deep tones, and it’s designed for UV/LED gel systems (follow your lamp and base/top coat directions for best results).
At-a-Glance Details
| Detail |
Value |
| Color/Finish |
Black with diamond-like glitter sparkle |
| Curing |
UV/LED gel system |
| Wear goal |
Long-lasting, chip-resistant look with proper prep and sealing |
| Price |
$10.49 USD |
| Stock status |
In stock |
How to Apply for a Smooth, Long-Wearing Glitter Gel Manicure
Glitter gel looks best when it’s applied in thin, controlled layers and fully cured. The goal is to keep the surface smooth while encapsulating sparkle so it doesn’t feel bumpy or catch at the edges.
1) Prep for adhesion (the anti-chip step)
- Clean nails thoroughly, gently push back cuticles, and lightly buff away surface shine.
- Remove dust, then cleanse with alcohol or gel cleanser so the base coat bonds well.
2) Base coat: thin and even
- Apply a thin, even base coat layer and cure according to your base coat instructions.
- Thin layers help prevent lifting and keep the manicure looking crisp near the cuticle line.
3) Color strategy: slip layer + build layer
- Use one thin “slip” layer first, then cure.
- Add a second layer to build opacity and sparkle payoff. With glitter-heavy gels, lightly “float” the brush over the surface so you don’t drag glitter into uneven streaks.
4) Cap the free edge (every layer)
- Lightly seal the nail tip with base, color, and top coat. This reduces chipping where nails take the most impact.
5) Cure fully to avoid wrinkles or dull patches
- Cure each layer for the time recommended by your lamp and product system.
- Under-curing can cause wrinkling, softness, or premature wear—especially with darker shades and denser glitter.
6) Top coat for a glass-smooth finish
- Use a high-gloss top coat to boost reflectivity and smooth texture.
- If the glitter still feels textured, add a second top coat layer (after curing and cleansing if needed) to fully encapsulate sparkle.
7) Finish cleanly
- If your top coat leaves a tacky layer, cleanse after the final cure.
- Apply cuticle oil to rehydrate surrounding skin.
Pro Tips for Glitter Gel: Leveling, Coverage, and Nail Art
Wear and Care: How to Keep the Shine for Longer
For general nail product and care guidance, the U.S. Food & Drug Administration (FDA) nail care products page and the American Academy of Dermatology Association nail care basics are helpful references.
Safe Removal Without Excess Dryness
Who This Look Suits Best
More In-Stock Picks to Round Out the Look
FAQ
Does glitter gel polish cure under LED and UV lamps?
Yes, as long as it’s labeled as a UV/LED gel lacquer. Cure times depend on lamp wattage and your base/top coat system, so use thin layers and cure each layer fully to prevent wrinkles or dull spots.
How do glitter gel manicures stay smooth instead of gritty?
Apply thin coats, “float” the brush on the build layer so glitter doesn’t drag, and encapsulate sparkle with a smoothing layer or an extra top coat. Capping the free edge also helps keep the finish sealed and comfortable.
How do you remove glitter gel without damaging nails?
File the top coat lightly to break the seal, then soak with acetone wraps and let the gel soften before gently pushing it off. Avoid peeling or scraping, and finish with cuticle oil and moisturizer to reduce dryness.
Recommended for you












Leave a comment