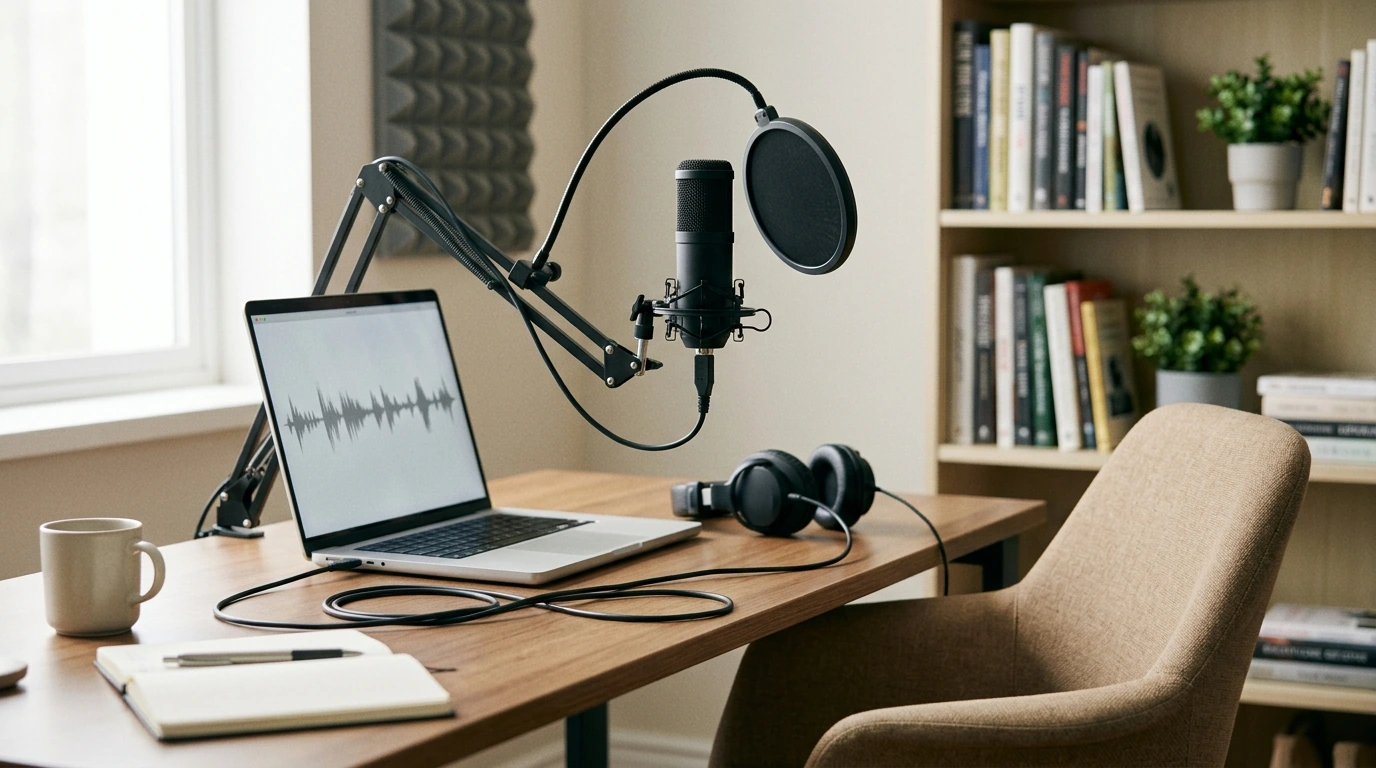
Clean, intelligible voice audio comes from the right mic type, smart placement, and a simple recording chain that stays consistent. A USB condenser microphone is designed to keep setup fast while delivering detailed speech for podcasts, live streams, voiceovers, lessons, and home studio takes. For more guidance, see Quality Microphones – CTLT – Cal Poly, San Luis Obispo.
A USB condenser mic is built for creators who want a noticeable upgrade over built-in laptop or webcam audio without adding extra hardware. Condenser capsules are sensitive and detailed, which helps speech sound crisp and present when you get the mic close and keep the room under control. For further reading, see Podcasting Basics, Part 1: Voice Recording Gear – Transom.
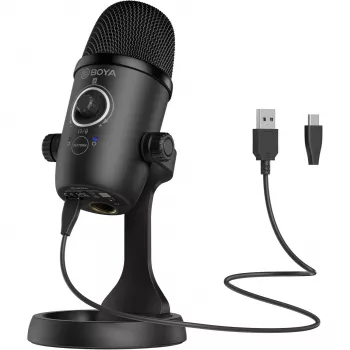
If you’re looking for a plug-and-play option that’s purpose-built for voice, consider the USB Condenser Microphone for Podcasting, Streaming & Studio Recording.
USB condenser microphones shine when the goal is a straightforward signal path: mic to computer, then into your recording or streaming app. That simplicity reduces setup time and makes it easier to keep your sound consistent from session to session.
For creators who like keeping scripts, release forms, and episode notes organized, the 10PCS A4 Hanging File Folder – Colorful Portable Document Organizer can help streamline a small recording corner or shared home office.
Most “bad mic” complaints come down to a few controllable factors: distance, direction, and the room. A condenser microphone can sound polished and broadcast-ready, but it will also reveal problems faster than a less sensitive mic.
For additional guidance on technique, Shure’s mic placement overview is a useful reference: How to Place a Microphone for Better Sound. To understand pickup patterns and microphone types at a fundamentals level, Audio-Technica’s primer is also helpful: Microphone Basics (Types and Pickup Patterns).
USB microphones are designed to be simple, but a few small choices can prevent most day-one issues. Start with a direct connection to the computer, set conservative levels, and only add processing after your raw signal is clean.
| Step | Goal | Common mistake to avoid |
|---|---|---|
| Select mic as input | Ensure apps use the correct device | Recording from the webcam or laptop mic by accident |
| Set input level | Prevent distortion and clipping | Turning gain too high to “sound louder” |
| Position the mic | Maximize voice, minimize room | Speaking across the top or into the side unintentionally |
| Enable monitoring | Catch problems early | Recording full sessions without a quick test clip |
| Add minimal filters | Improve consistency | Over-processing that makes voice sound unnatural |
If your computer isn’t detecting the mic or input settings keep reverting, Microsoft’s troubleshooting steps can speed up the fix: Fix microphone problems in Windows.
Placement is where USB condenser mics earn their keep. The right distance and angle can make the voice sound intimate and clear while reducing plosives, sibilance, and excessive room reflections.
Yes—it’s a strong choice for solo spoken-word content because setup is fast and voice detail is typically clear and articulate. Keep the mic close, set gain conservatively, and reduce room noise so the extra sensitivity doesn’t turn into extra background sound.
A good starting point is about 6–10 inches, with a pop filter between you and the mic. Move a bit closer for more presence and warmth, or slightly farther back if plosives and breath noise are becoming a problem, and try speaking a little off-axis.
Condenser mics are sensitive and often capture more of the room, including reflections from walls and ceilings. Lower the gain, move closer to the mic, reduce noise at the source (fans/AC), and only then add light gating if needed.









Leave a comment